
Last updated November 22, 2026
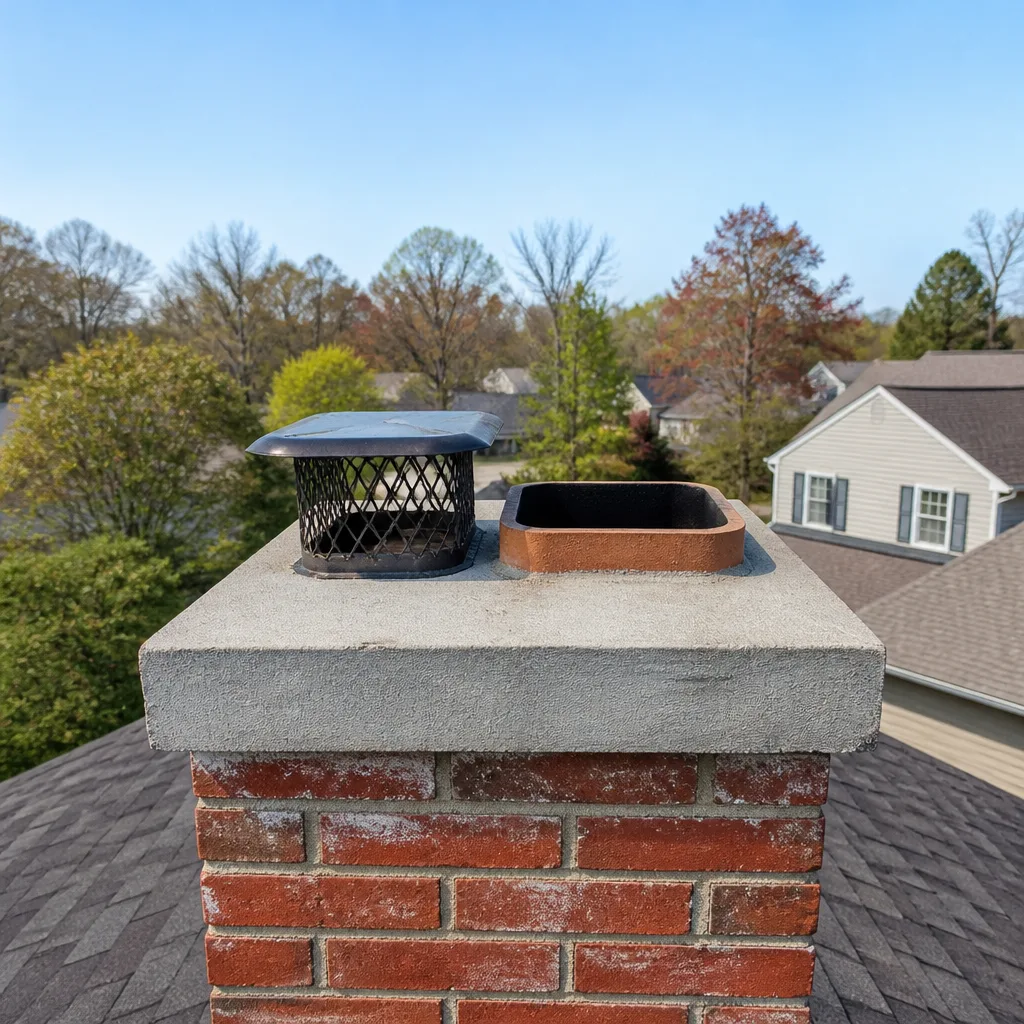 Sweep & inspection
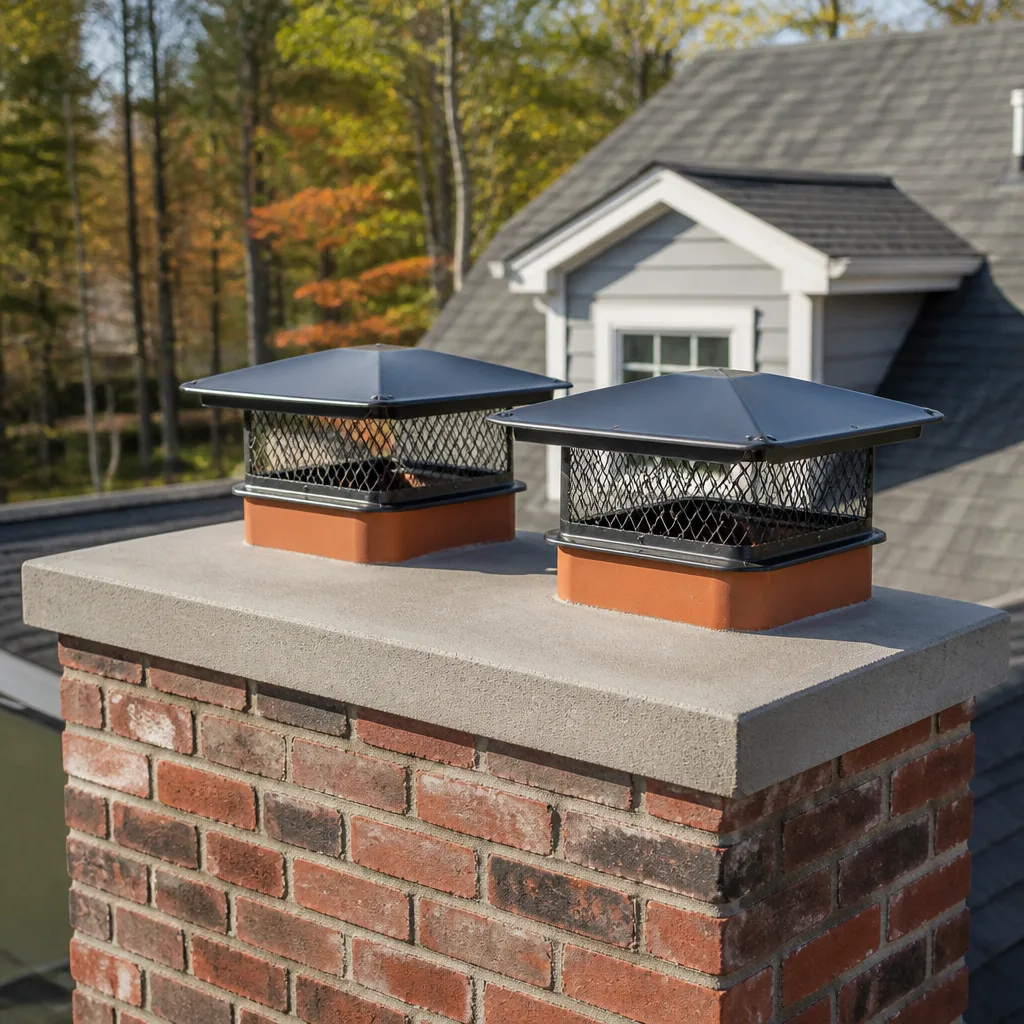 Caps & crowns
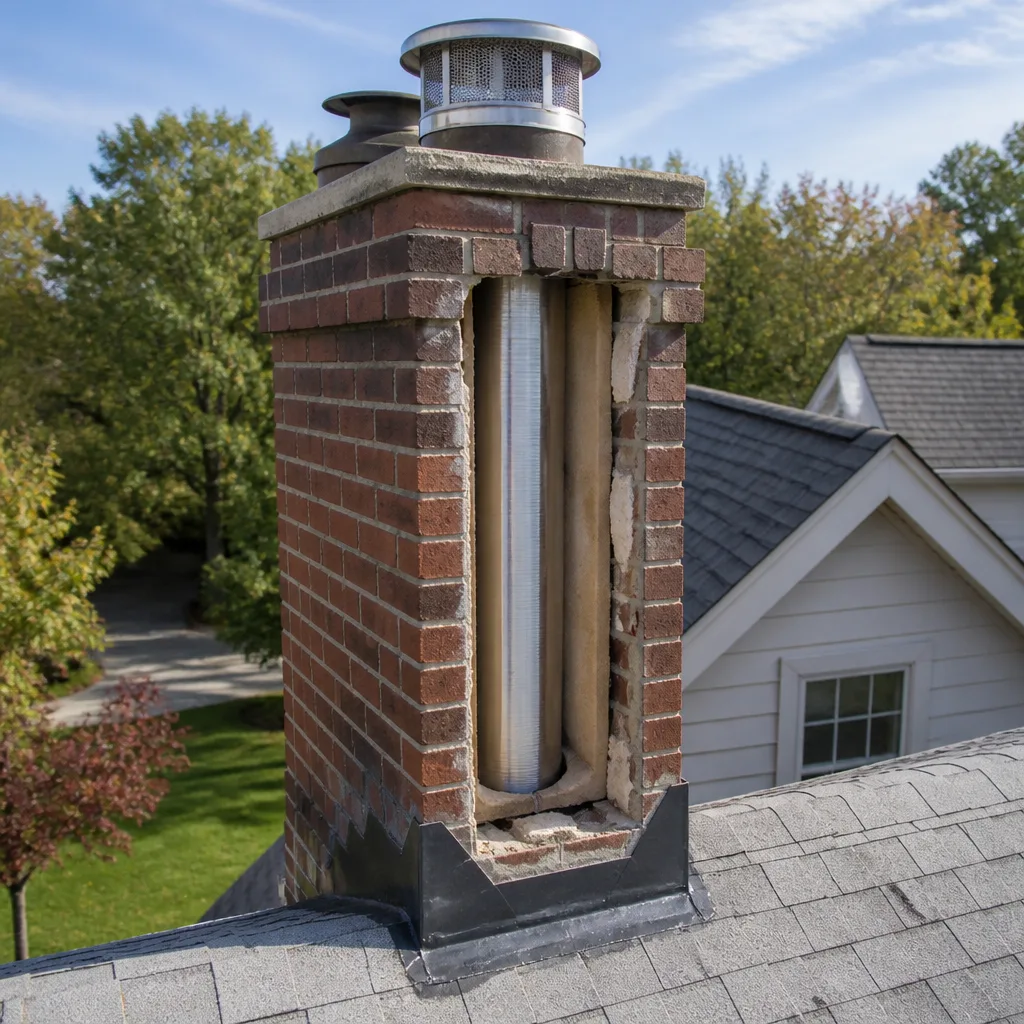 Flue relining
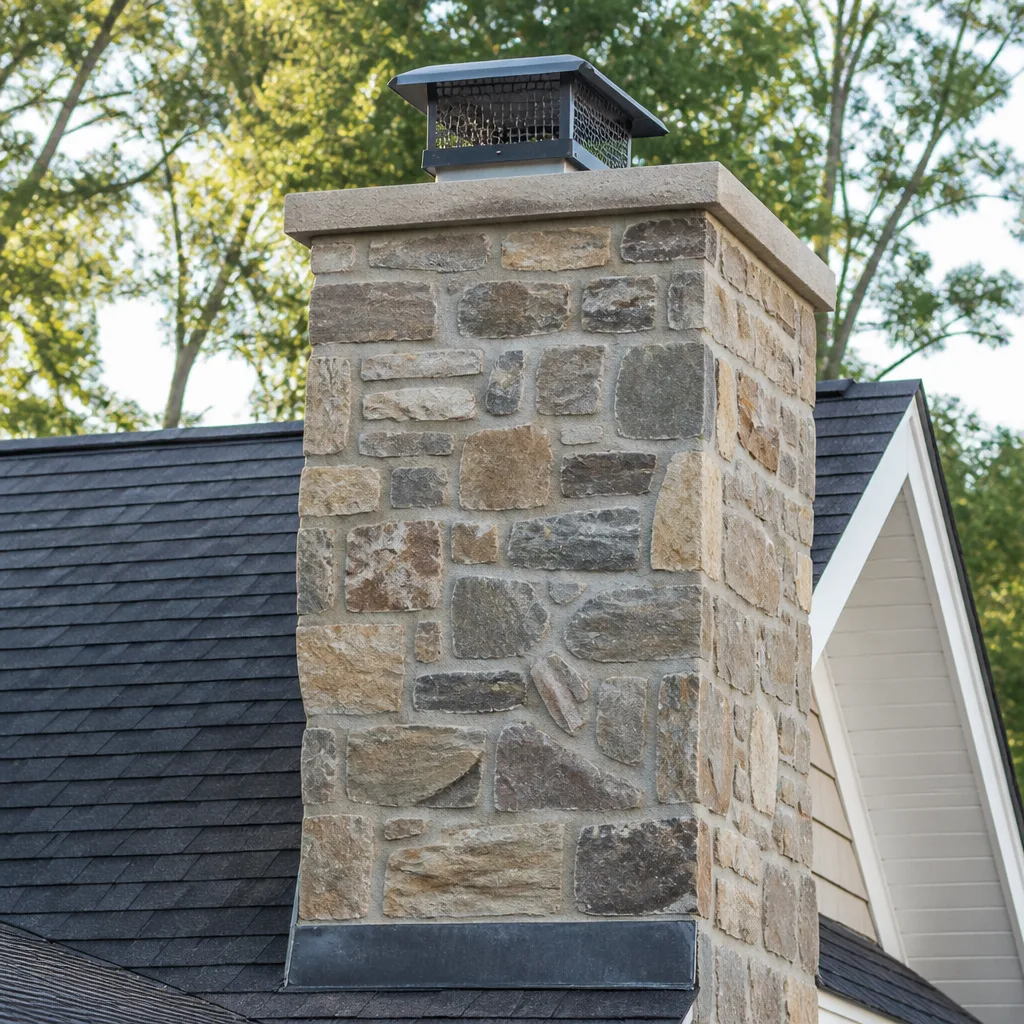 Masonry repair
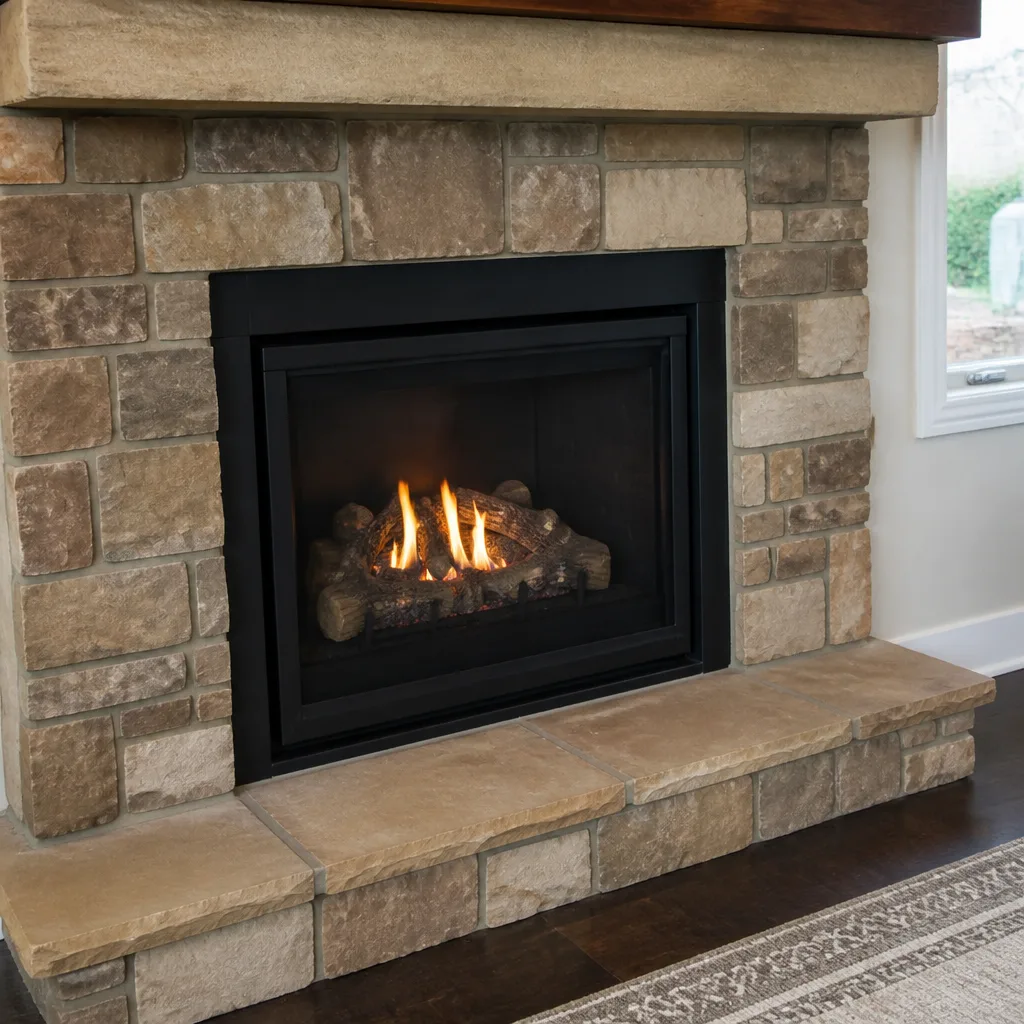 Gas fireplace service
Level 1 sweep and inspection to the NFPA 211 annual standard - flue, crown, cap, and flashing checked and photographed
Chimney sweep logs do not sweep chimneys. They loosen some creosote - which then falls where a brush and vacuum still have to collect it.
Chimney Sweep Maintenance Checklist for Dorchester Homeowners
Most chimney problems that cause real trouble in Dorchester are invisible from the ground. A cracked flue tile, a liner joint that has shifted apart, a smoke chamber blocked by years of glaze – none of these show up when you stand on the sidewalk and look up at the stack. So the familiar “walk around and squint at the roof” inspection most homeowners do every fall catches almost nothing that matters. What actually matters is what’s happening inside the flue, at the firebox, and along the smoke shelf, where you can’t see without a camera or a trained eye. This guide gives you a checklist built the way a technician builds one: ordered by consequence, starting at the firebox and working up, so you catch the failures that cause fires and carbon monoxide intrusion before you worry about the ones that just look bad.
Quick Answer
A safe chimney checklist runs in a fixed order: firebox, then smoke shelf and smoke chamber, then the flue and liner, then the cap and crown, then the exterior stack. At each stage there’s a clear pass or fail. Anything you can’t see from inside the firebox – cracked tiles, gaped joints, hidden blockages – requires a camera or a certified sweep, and in Dorchester the checklist should be run before the heating season starts in October and again after the spring moisture window. If you find a fail at any stage, that’s your signal to stop and call a professional, not to keep poking.
Styles & brands we work with
- Sweep & inspection
- Caps & crowns
- Flue relining
- Masonry repair
- Gas fireplace service
Table of Contents
- Why the Order of the Checklist Matters
- Stage One: The Firebox and Fireplace Opening
- Stage Two: The Smoke Shelf and Smoke Chamber
- Stage Three: The Flue and Liner
- Stage Four: The Cap and Crown
- Stage Five: The Exterior Stack and Chase
- Seasonal Triggers for Dorchester’s Heating Year
- How to Document Your Chimney Year Over Year
Why the Order of the Checklist Matters
A chimney fails from the inside out, not the outside in. The firebox and smoke chamber are where heat, creosote and moisture do their first damage. The liner is where that damage becomes a fire hazard. The cap and crown are where water gets in from above. If you start at the roof and look down, you’re inspecting the least consequential part first and the most consequential part last – and usually not at all, because you can’t see down a flue from on top.
Order the checklist by consequence and you get a different result. The questions change. Instead of “does the stack look okay?” you’re asking “is there a gap at the smoke shelf that lets carbon monoxide back into the room?” and “is the flue tile cracked at a joint I can’t see?” Those are the questions that separate a chimney that’s safe to burn in from one that isn’t.
In our experience, the homeowners who get into trouble are the ones who did inspect – just in the wrong order. They cleared the cap of leaves, they checked the damper opened, and they called it done. None of that tells you whether the liner is intact. That’s the piece that turns a routine sweep into a fire-risk conversation.
This checklist is sequenced the same way our technicians run it: five stages, each one a pass or fail, each one answered before moving to the next. You’ll be able to do the first two on your own. The last three require either a camera or a trained eye, and we’ll say plainly where each line falls.
Stage One: The Firebox and Fireplace Opening
Start where the fire actually lives. The firebox takes the most direct heat of any part of the system, and it’s also the part you can see without any tools. Get a flashlight and look at every surface.
Pass criteria at this stage:
- Firebox walls are solid brick or lined with no loose or spalling masonry
- No cracks wide enough to catch a fingernail, and no cracks running through the brick rather than just the mortar
- Mortar joints are intact, not crumbly or hollow-sounding when tapped
- The damper opens fully, closes fully, and sits flush in its frame
- No rust-through or warping on a metal firebox or damper assembly
- The hearth and surround are sound, with no gaps where heat or embers could reach framing
Fail criteria: Any crack in the firebox itself, any loose brick, any damper that won’t seat, or any gap between the firebox and the surrounding masonry. A firebox crack lets heat reach the structure behind it, and the structure behind it is usually wood framing.
This stage is genuinely do-it-yourself territory. You’re looking, tapping and testing a moving part. If everything passes, move up. If anything fails, stop here and call a professional – this is not a stage to fix yourself.
Stage Two: The Smoke Shelf and Smoke Chamber
The smoke shelf is a flat ledge at the back of the firebox that redirects downdrafts back up the flue. The smoke chamber is the tapered space above it, between the damper and the flue. Together they’re the transition zone, and they’re where most hidden problems start.
What passes:
- Smoke shelf is clear of debris, soot buildup and animal nesting
- The smoke chamber walls are smooth or properly parged, not rough enough to catch creosote
- No gaps or cracks at the smoke shelf where smoke could escape the firebox and re-enter the room
- The damper plate seals against the shelf with a visible gap of no more than a thin sliver when closed
- No crumbling parging or glazed creosote on the chamber walls
Here the line between DIY and professional gets thinner. You can see the shelf and the bottom of the chamber with a good flashlight. What you can’t see is the upper half of the chamber or the joint where it meets the flue, and that joint is exactly where a gap can channel carbon monoxide back into the living space instead of up the stack.
This is the first stage where a camera inspection earns its keep. A camera run up from the firebox shows the entire smoke chamber and the first few feet of flue, and it’s the only reliable way to know whether that transition is sound. If the chamber parging has failed, HeatShield resurfacing can rebuild the surface without tearing anything out – which is often the difference between a modest repair and a full reline.
Stage Three: The Flue and Liner
The flue is the part of the system that turns a maintenance issue into a fire risk. Creosote deposits on the liner walls are what fuel a chimney fire, and a cracked or gaped liner is what lets heat and carbon monoxide reach the structure around it.
Pass criteria, visible portion only:
- Flue tiles (or a stainless liner) run straight with no offsets that could trap debris
- No visible cracks, spalling or missing pieces on clay tile
- No gaps at tile joints – tiles should butt together tightly
- Creosote buildup is light and powdery, not dripping, glossy or glazed
- Stainless liners show no corrosion, no separation at seams, no crushed sections
You cannot fully assess this stage yourself. A flue inspection requires a camera, and in some configurations a sweep will also check from the top down. What a homeowner can do is watch for the signs that tell you to call:
- The flue sounds hollow or grating when creosote is scraped, which suggests glaze
- Smoke rolls back into the room when you light a fire – a sign of blockage or a failing liner
- A strong, sharp creosote smell in the house even when the fireplace is cold
- Any visible flue tile crack, which means the liner is compromised and needs assessment
- Water staining on the masonry around the flue, which points to a leak above that’s degrading the liner from the outside
If the liner is damaged but the surrounding structure is sound, a DuraFlex stainless liner runs inside the existing flue and restores the full system without demolition. That’s the version most Dorchester homeowners with older masonry chimneys end up needing: not a rebuild, just a new liner inside the old one.
Stage Four: The Cap and Crown
The cap and crown are the top of the system, and they’re what stops water from getting into everything you just checked. A failed crown is the single most common cause of water damage inside a chimney, and water damage is what speeds up every liner and masonry problem above.
Crown pass criteria:
- The crown is a single, unbroken concrete or masonry surface that sheds water away from the flue
- It overhangs the chimney walls slightly so runoff doesn’t run down the masonry face
- No cracks wider than a hairline, and no pieces missing at the edges
- The seal at the flue-to-crown joint is intact – this is where water most often gets in
Cap pass criteria:
- The cap sits over the flue and blocks rain and animals while letting exhaust out
- It’s fastened securely with no rust-through or loose panels
- Spark arrestor mesh is intact and not clogged with debris
- There’s enough clearance above the flue opening for proper draft
You can assess the cap and crown from the ground with binoculars, and this is a safe stage for a homeowner to do on their own. Look for a cracked crown, rusted or missing cap, and any mesh sagging or torn. Dorchester’s masonry chimneys take a beating between the freeze-thaw of winter and the summer heat, and a hairline crown crack in October will be a much bigger one by the following spring. Our chimney cap & crown work is a common fix, and it’s often the cheapest repair that prevents the most expensive damage.
Stage Five: The Exterior Stack and Chase
The last stage is the outside of the chimney: the masonry face, the flashing at the roofline, and the chase if your flue runs in an enclosed siding-covered box. This is the stage where structural issues first show themselves, but by the time damage is visible out here, the interior is usually already affected.
What to look for from the ground:
- Spalling brick – faces that are flaking or popping off, common after a hard winter
- Efflorescence, the white powdery stain where moisture has moved through the masonry and dried on the surface
- Gaps in the flashing where the chimney meets the roof, or loose flashing at the saddle
- Rust or water staining on a metal chase, or any separation at the seams
- Leaning at the top of the stack, or movement in the masonry itself
If the stack looks plumb and dry, this stage passes. If anything above shows, don’t fix it yourself – the roof is dangerous, and masonry repairs on a slope are a professional job. It also usually means water has been getting in for a while, which sends you back to Stage Three for a camera check.
Seasonal Triggers for Dorchester’s Heating Year
Dorchester’s fireplaces come on around October and go quiet around April, which sets two clean maintenance windows for the year.
The pre-season window: September and early October. This is when you run the full checklist, book a sweep, and confirm the liner and cap are ready for the season. If there’s a repair, doing it now is far better than discovering it in January when the first cold snap has you running the fireplace hard.
The post-season window: April and May. This is the moisture window. Winter’s freeze-thaw cycle and spring rain are exactly the combination that finds every hairline crown crack and every soft chimney joint. A check in the spring catches water damage at the earliest stage, before it works into the liner and masonry.
One more trigger: creosote buildup is driven by how much you burn, not the calendar. A homeowner who burns an open fireplace six nights a week in Dorchester will need servicing far more often than someone who lights it a dozen times a season. Porcelain-soft deposits need annual attention; glazed creosote demands swift intervention regardless of schedule. If you haven’t had a sweep in over a year, that alone is a trigger – creosote doesn’t take a season off.
How to Document Your Chimney Year Over Year
The single most underrated piece of chimney maintenance is recordkeeping. A chimney’s history tells a technician what to expect before they even light a camera, and if you’ve recently bought an older home, the records are often the only way to know what’s been done – and what hasn’t.
What to record, year by year:
- The date of each sweep or inspection
- Creosote level noted, in plain terms (“light soot,” “powdery,” “glazed”)
- Whether the liner is clay tile or stainless, and its condition on camera
- Any repairs done, and the products used (if a HeatShield resurface was done, note it; if a DuraFlex liner was installed, note the size)
- Photos of the flue, firebox and crown from each visit
- The name of the technician or company, with an internal note about any issue they raised that you chose to defer
Keep this in a folder with the property documents, or a single photo album on your phone. It travels with the house when you sell it, which is exactly what a buyer’s inspector wants to see during a real-estate transaction. It also saves a huge amount of guessing the next time someone runs the checklist.
A standalone inspection, booked separately from any sweep or repair, produces exactly this kind of record: an honest report on condition with no sales pressure attached. We offer inspections as their own service, so a buyer, seller or agent can get an unbiased assessment without committing to repairs. Our Chimney Sweep Dorchester team runs the same checklist on every visit.
Common Mistakes to Avoid
- Inspecting from the ground only. The cap and crown are about the only parts you can trust from the ground. The firebox, smoke chamber and flue are the consequential ones, and none of them are visible from the yard.
- Burning wet wood to save money. Seasoned wood burns hot and clean; green wood puts creosote on your liner fast. In a Dorchester winter, cheap firewood is the most expensive kind there is.
- Skipping the sweep because “the fireplace isn’t that dirty.” The firebox can look clean while the flue holds enough creosote to fuel a chimney fire. Clean-looking doesn’t mean clean.
- Ignoring a cracked crown until it’s a leak. A hairline crown crack in autumn is a cheap crown repair. By spring, that crack has let water into the flue and the repair doubles.
- Putting off a camera inspection to save the check. A flue tile crack you find on camera is a liner replacement. The same crack after a chimney fire is a wall rebuild. The camera pays for itself.
- Assuming a newer home doesn’t need the checklist. Liner failures are also found in houses that were built with a partially correct flue and never re-assessed. Age doesn’t guarantee integrity.
- Using consumer-grade cap and liner products. Hardware store caps corrode and cheap liners fail early. Professional-grade materials from makers like Olympia Chimney and DuraFlex are what hold up over a Massachusetts winter.
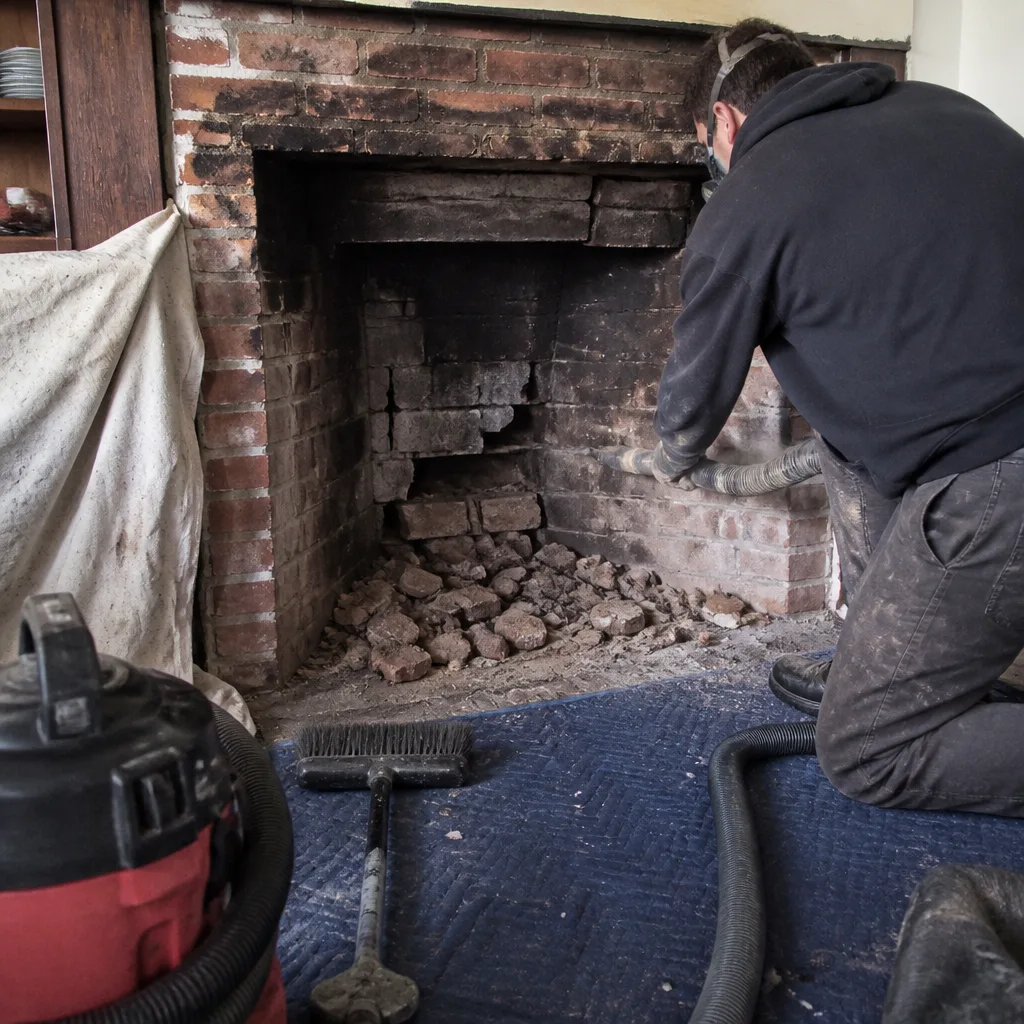
See the difference
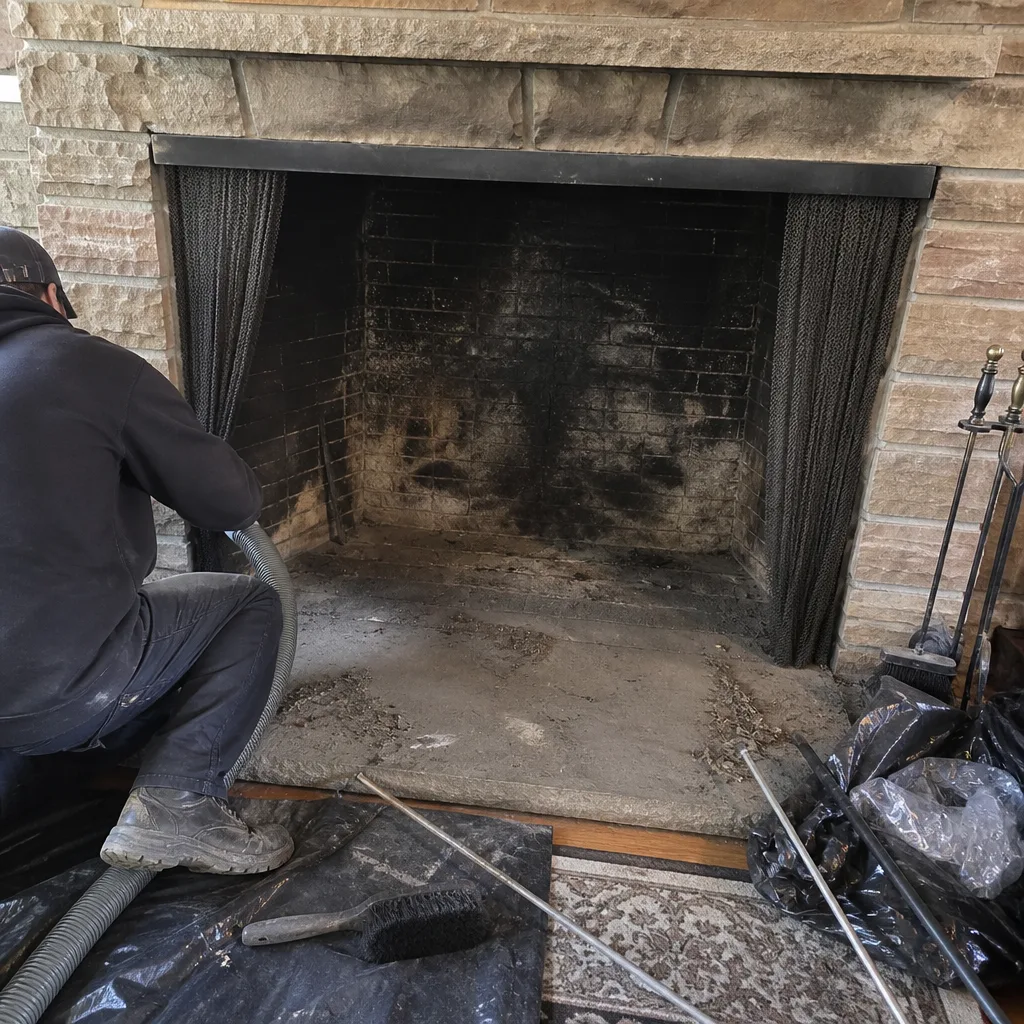 Before
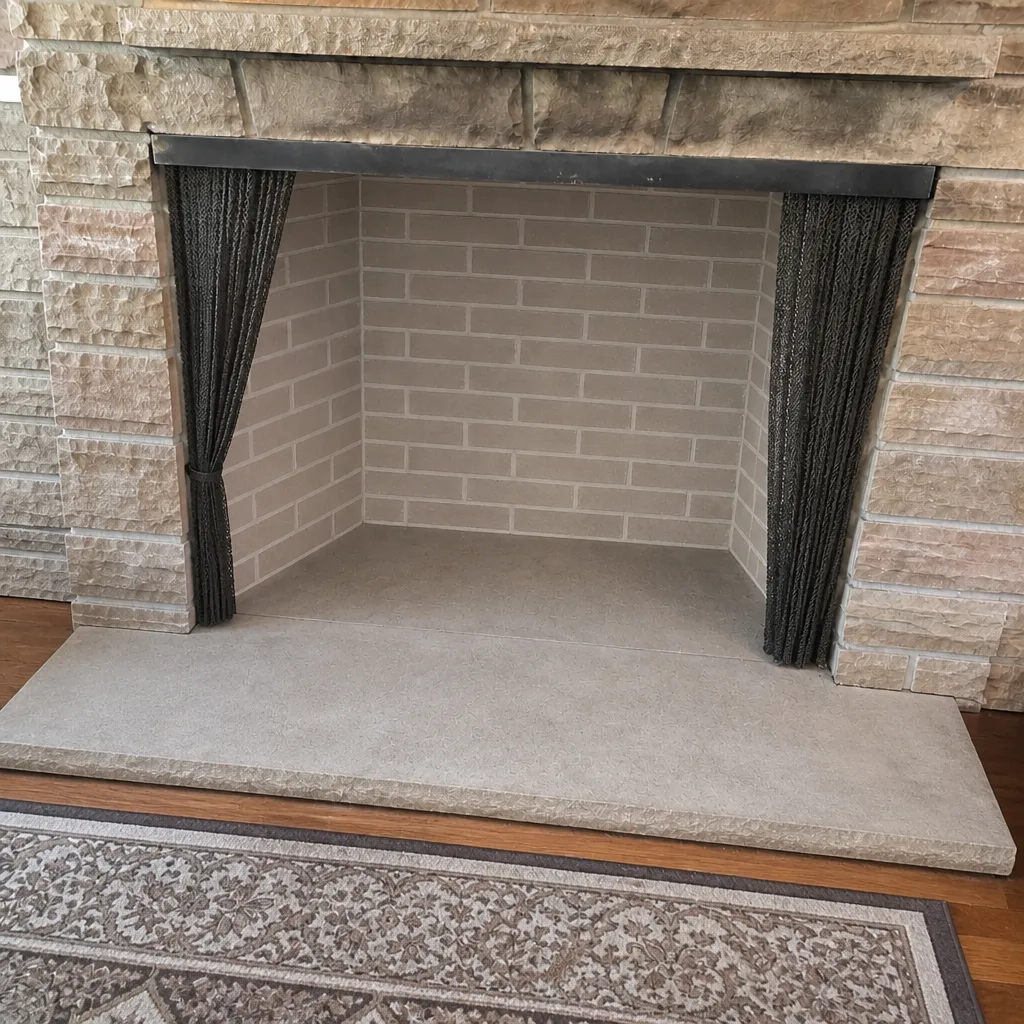 After
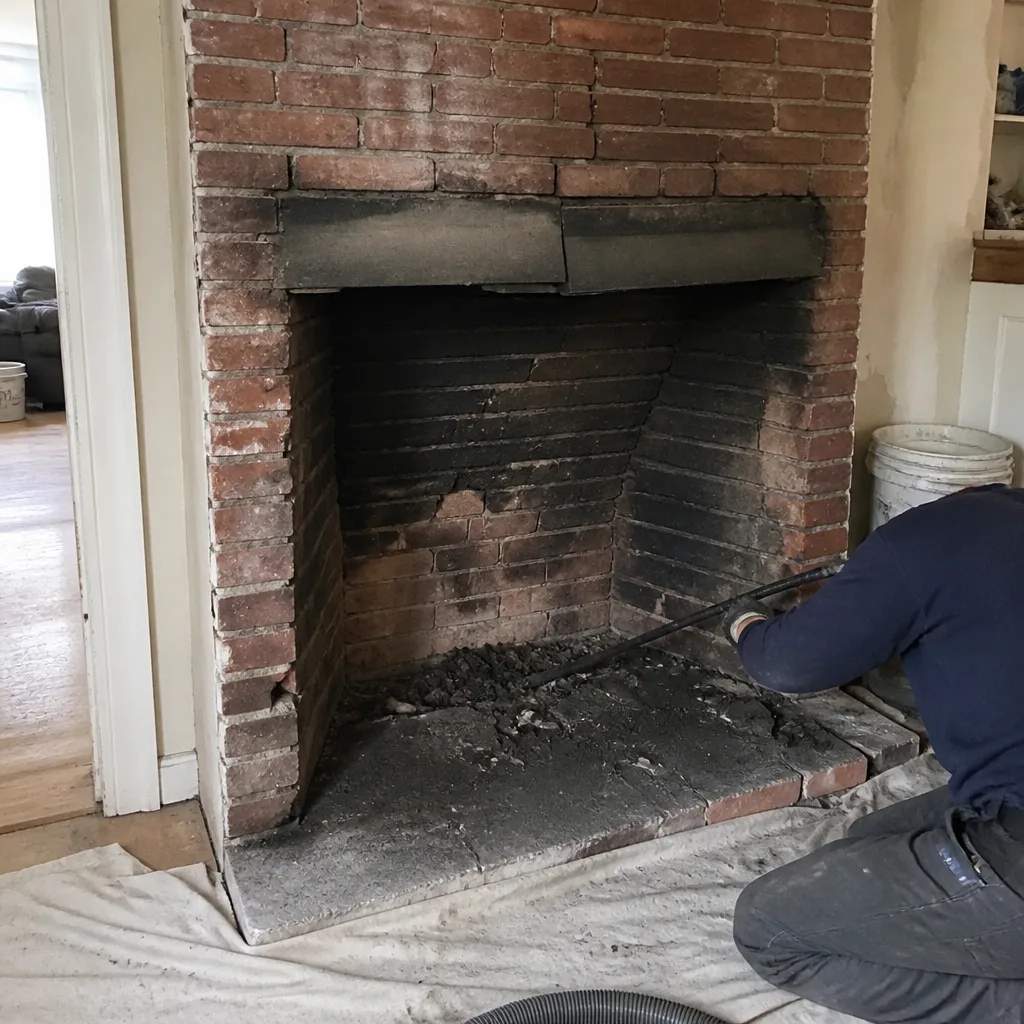 Before
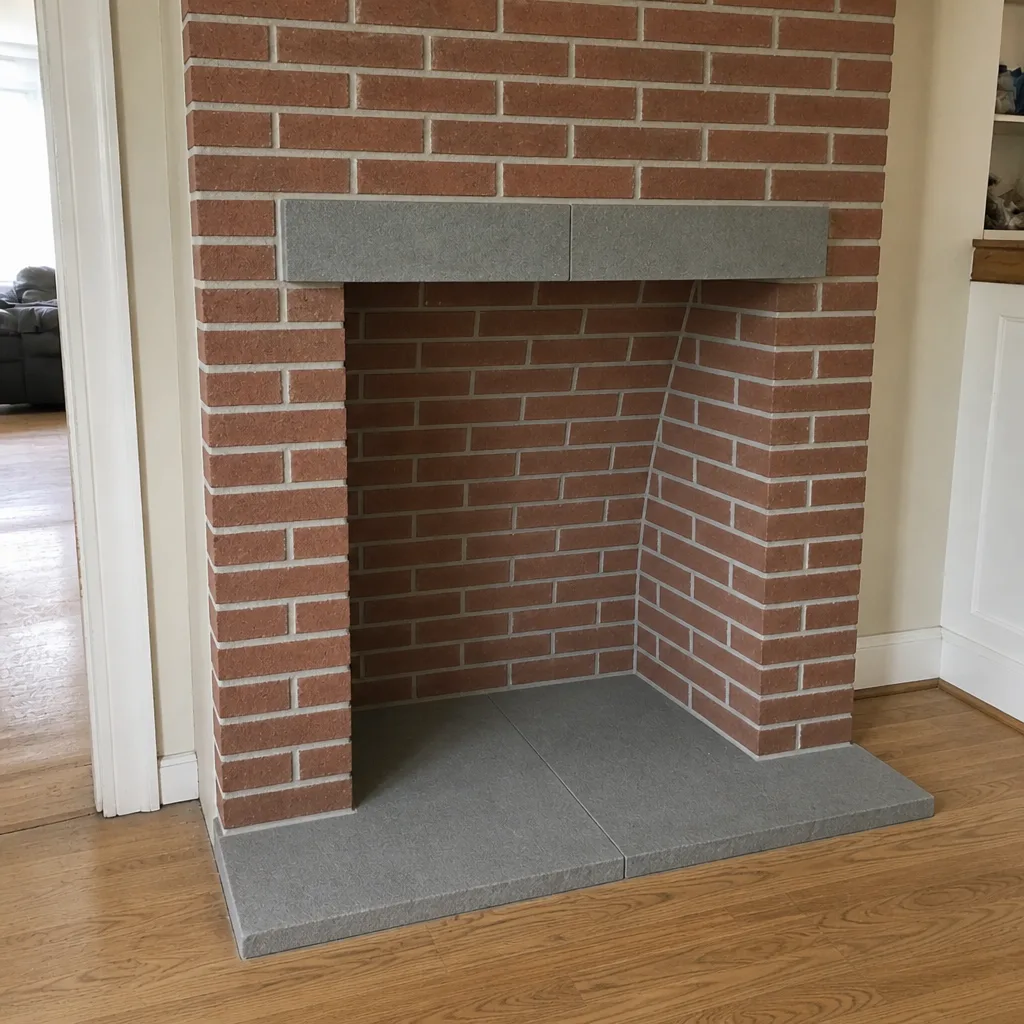 After
 Before
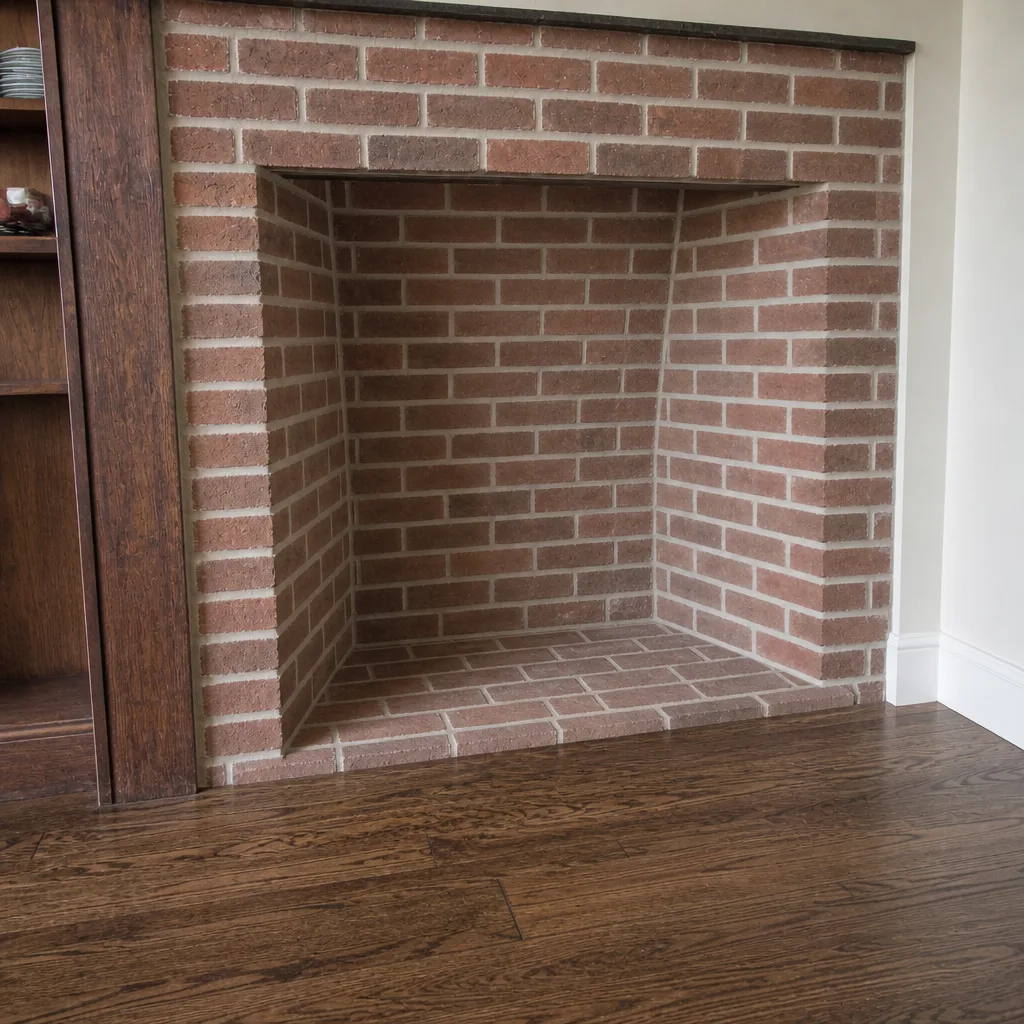 After
When to Call a Professional
Some checklist outcomes are calls to make, not problems to solve. Stop and call a professional if you find any crack in the firebox or the flue tiles, a gap at the smoke shelf, a damper that won’t seat, or a glazed creosote stage that can’t be cleaned with a normal sweep. Also call if you smell a sharp creosote odor in the house, if smoke rolls back into the room when the fire is lit, if you see spalling brick or a leaning stack, or if a crown is cracked through to the flue joint. A blocked or damaged liner is a carbon monoxide risk, and carbon monoxide is invisible – which is exactly why an unswept or unassessed chimney shouldn’t be used. If a property transaction is in motion, book a standalone inspection so the report stands on its own, separate from any repair work. Chimney Sweep Dorchester offers free estimates in Dorchester – call (844) 443-4495. We answer 24/7. Fast dispatch from 7am to 7pm, Sunday through Friday. If you need the firebox rebuilt or the fireplace surround repaired, that falls under our fireplace repair service.
Frequently Asked Questions
Annual sweeping is the standard for a wood-burning chimney, and a chimney should be swept whenever creosote has built up to a quarter-inch on the flue walls. If you burn regularly through Dorchester’s heating season, book a sweep every fall before October and again if you notice smoke rolling back or a strong creosote smell. Gas-burning fireplaces still need an annual inspection even though they don’t build creosote, since they’re still venting combustion byproducts. Call (844) 443-4495 to book – estimates are free.
A sweep cleans the flue and firebox. An inspection assesses the condition of the whole system, including what’s inside the flue and smoke chamber, and produces a written report. In Dorchester, a real-estate buyer or seller typically wants the inspection on its own, separate from any cleaning or repair recommendation. We offer inspections as a standalone service for exactly this reason – honest condition reporting without any pressure to buy repairs. A sweep normally includes a visual inspection as part of the visit.
Yes – Stages One, Four and the exterior stage of this checklist are genuinely do-it-yourself friendly. You can open the damper, look at the firebox, tap the brick, check the cap with binoculars, and watch for spalling or staining. What you can’t safely or accurately check is the flue and the smoke chamber, because the camera work and the trained eye are what turn those into a real answer. Between visits, keep an eye on the smoke: if it doesn’t pull up cleanly, that’s your cue to call.
Creosote builds up on the liner as you burn, and once it reaches a certain thickness it can catch fire. A chimney fire is a real risk, and the damage it does to the liner and surrounding structure can turn a routine cleaning into a liner replacement or a masonry rebuild. Separately, a blocked or cracked flue can let carbon monoxide back into the house. Skipping a year isn’t a catastrophic risk by itself, but skipping several is how the failures compound. Call (844) 443-4495 – estimates are free.
It depends on what the camera shows. If the clay tile liner is sound but the smoke chamber parging is failing, HeatShield resurfacing rebuilds the surface without demolition. If the tiles are cracked or the joints have gaped, a DuraFlex stainless liner runs inside the existing flue and restores the full system. In our experience, most older Dorchester masonry chimneys can be restored this way rather than rebuilt, but a camera inspection is what tells us which option fits your chimney. Nothing gets recommended without camera evidence you can see for yourself.
Yes. A standalone inspection is the clearest way for a buyer to know what they’re taking on and for a seller to answer the inevitable question of condition. We offer inspection as its own service, separate from any repair sale, so the report can be used for a transaction without strings attached. Real-estate agents and buyers typically book this before the inspection deadline, and the written report is what the buyer’s contractor will work from. Call (844) 443-4495 to schedule an inspection.
The Bottom Line
A chimney checklist should be ordered by consequence, not convenience. Start at the firebox and work up: firebox, smoke shelf and chamber, flue and liner, cap and crown, exterior stack. The first and fourth stages are genuinely yours to run. The middle of the checklist – the flue and smoke chamber – requires a camera and a trained eye, and that’s where the fire and carbon monoxide risks actually live. Run it before October, run it again after the spring moisture window, and record what you find. One call covers the sweep, the inspection, and any repair in between – our team at Chimney Sweep Dorchester works exclusively on chimneys, and we’re happy to look at yours. Call (844) 443-4495 for a free estimate.
Written by the team at Chimney Sweep Dorchester.